
I talked to a friend of mine recently whom I haven’t seen in a while and was invited on an overnight canoe float down the Big South Fork with him. I do not have a ton of primitive camping gear nor do I have a canoe, but luckily he has plenty and I was able to borrow what I needed.
Big South Fork is not a national park, but is operated by the national park service and is located in northeastern Tennessee near the Tennessee/Kentucky border, just in between Cookeville and Knoxville. Big South fork is a very large national river and recreation area at 125,000 sq acres that takes up space in both Tennessee and Kentucky. I had never been before but it’s been on my short list of places to visit in Tennessee for some time.
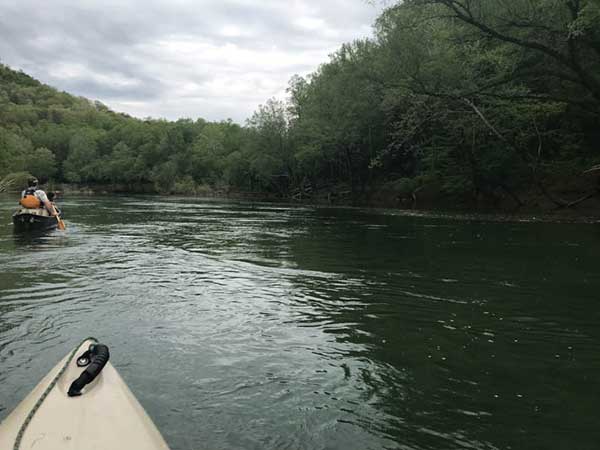
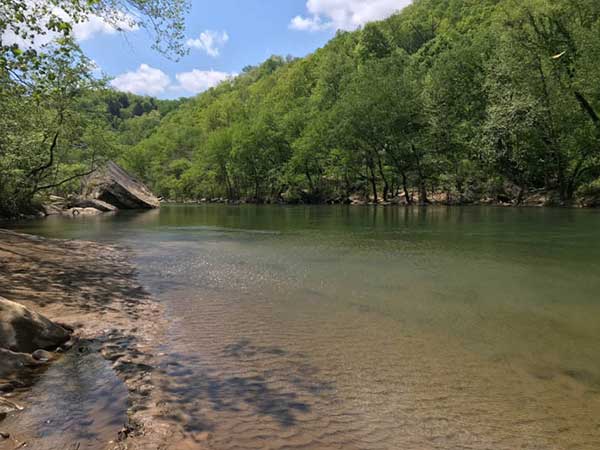
This river refers to a section of the Cumberland River known as the Big South Fork. It has beautiful scenery with the river itself, bluffs, gorges, and wildlife. If you’ve never been then I highly recommend it.
The river was at around 1000 cfs, or cubic feet per second which refers to the flow, if I remember correctly. From what my canoeing partner was telling me, who has done this run multiple times, the river was a little higher than it has been in the past when he’s run it so the rapids weren’t overly rapid. Although we did encounter a few that got me wet and got some water in our boat.
Trip overview
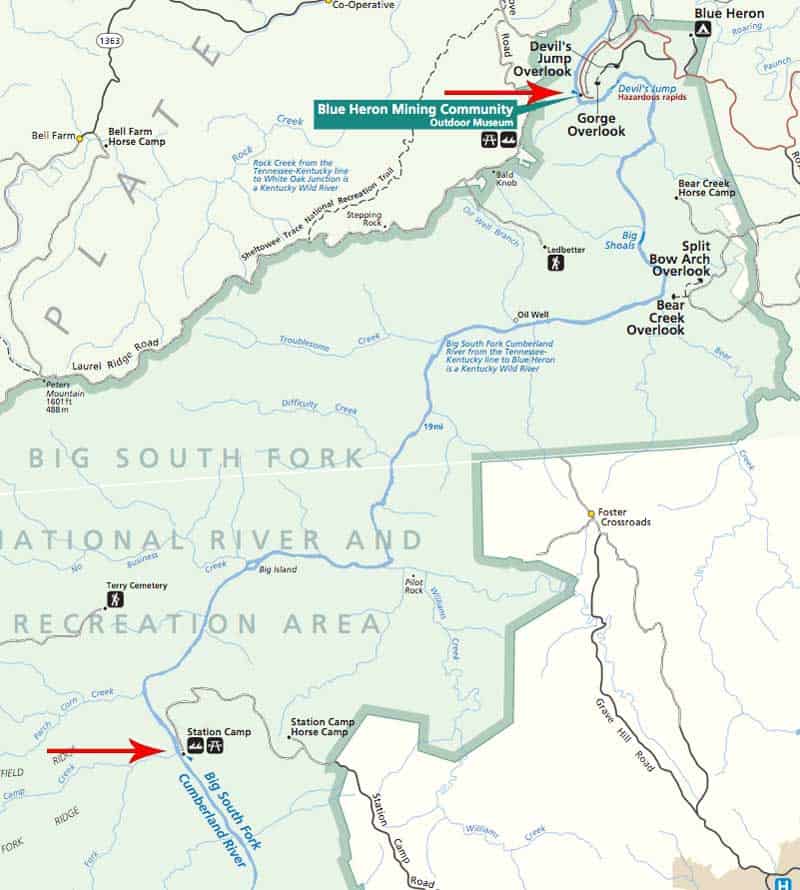
The plan was to put in at Station Camp, which is located just west of Oneida, Tennessee. It’s a horse campground so I saw dozens of people riding horses around and in the river shallows. We also saw several other canoers putting in around the same time but not too many for a warm Saturday in late April.
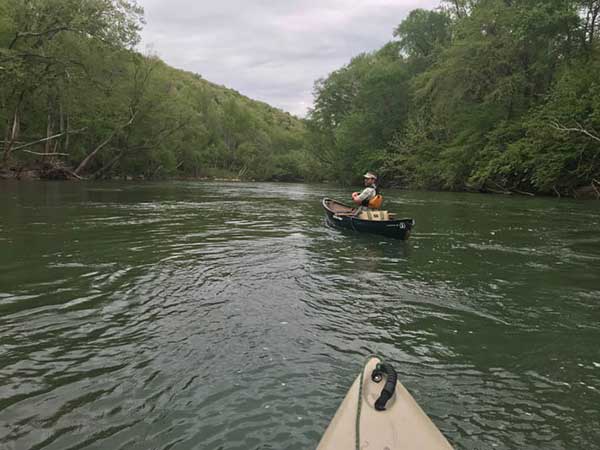
We would canoe about 20 miles down the river to Blue Heron, stopping to camp at some point along the way. We ended up canoeing about 7 miles the first day, through a lot of slow moving water, until we found an acceptable place to set up camp. We would make camp, hang out around the campfire, then get to bed early and get an early-ish start to complete the remaining 12-13 miles the next day.
The second leg of the trip goes through several fast moving parts of the river and does go a lot faster which we expected. We did take our time the second day taking pictures, chatting with a few other canoers and generally just enjoying the scenery. Also we did have to portage the canoes at one point right near the end which took up a good bit of time. To me, this was by far the most physical part of the whole weekend so be prepared if you have a lot of gear to carry.
After the portage and putting the boats back in the water, it’s just a short float to Blue Heron where you’ll either meet your shuttle or load your canoes and gear up in your second car and drive back to Station Camp.
Shuttling between locations
There are shuttle companies out here that will take you back to your car from Blue Heron, but we had another canoer with us and acted as our own shuttle which made things a little easier. I don’t know much about shuttle companies because we didn’t use one this trip but I have heard of people using Sheltowee Trace.
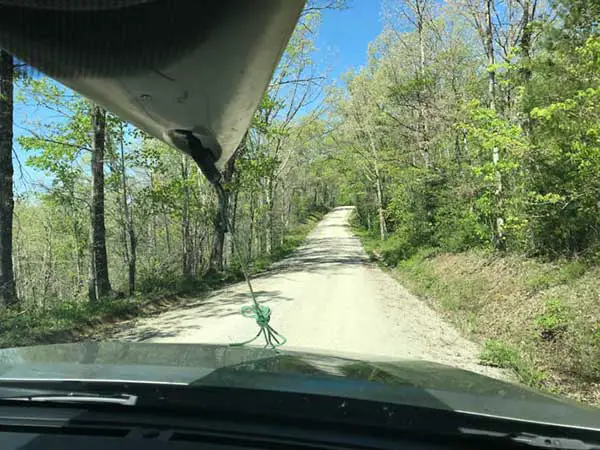
Even though the distance by river is only about 20 miles the car ride is much further, probably closer to 45 minutes. So if you are dropping someone off at Station Camp with the gear they can expect to be waiting for you to get back from Blue Heron where you drop vehicle #2 for about an hour and a half.
Day 1
Putting in at station camp and the first leg
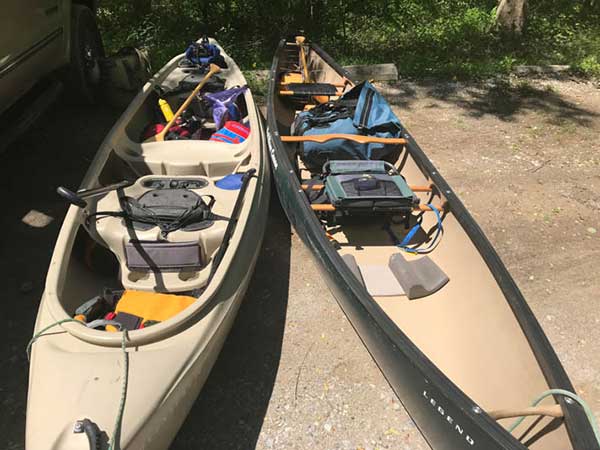
There are a couple of places where you can put in but we chose the one just below the restrooms up on the hill. Just carry your canoes down one set of steps to a sandy campsite area just below the parking lot. Once down the first set of steps you’ll see another steepers set of steps that go directly into the water. Have all your gear packed in your canoe and slide it into the water.
As I mentioned, you’ll paddling through a lot of glass (still water) in the beginning of the trip. You’ll likely go through a few spots with some fast moving water, but nothing too intense. It all depends on the flow of the river, but for us there was nothing much in terms of rapids on day 1.
Don’t rush, just pace yourself and you’ll get through it slowly but surely. We put in later than we initially planned, at about 2-3 in the afternoon, we paddled for a few hours and set up camp at around 5 or so.
Making camp
When it comes to camping, you have tons of options along the river banks. We checked out a few different ones before we decided on one. The first one was up a little hill a ways from the bank, was very flat and under trees with a leafy ground. It was very nice, however we kind of wanted one near some moving water that was closer to the river bank.
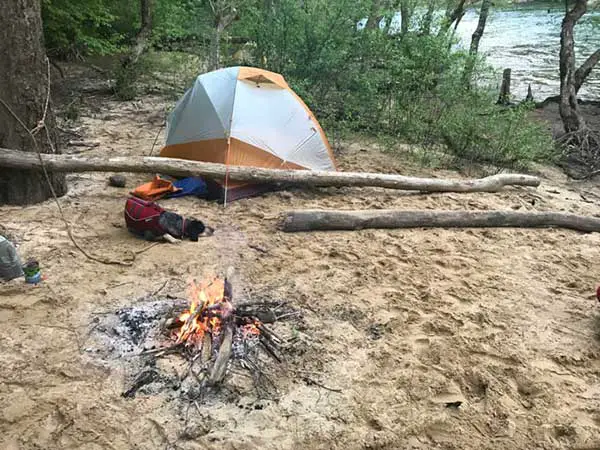
We came across a near perfect campsite just a little ways down the river from that first spot that had pretty much just what we were looking for. The ground was a bit sloped, but it was all sand so we just got to digging level spots with our paddles immediately. Once we had level ground, we set up our tents, put on some dry and warm clothes, and made a fire.
We didn’t have anything fancy for dinner, just some Ramen Noodles. It was the best Ramen I think I’ve ever had though after all of the paddling, setting up camp, and carrying gear around. We got out some adult beverages and proceeded to relax around our campfire and just enjoy the sounds of the river.
We turned in early at about 10:00 at attempted to get some sleep which didn’t come easy for me unfortunately, but I made it work. We got up a little early, had an oatmeal breakfast, and started packing up and loading the boats ready for another adventure on day 2.
Day 2
The second leg of the trip
We were a bit sluggish in the morning after a little bit to drink the night before and probably not the best night’s sleep so we took our sweet time getting ready. We ended up not getting back on the river until about 10:30 that morning, but as I mentioned the river moves much faster on the second day and we knew we’d make up some time.
I’m not 100% sure how far we went that day but I’d estimate around 12-13 miles down the river. There were probably a dozen little mini rapids and 2-3 that were big enough to get you wet. One of the larger rapids is known as “Big Shoals” and is a series of 3 rapids that can be pretty fast moving and bumpy when the cfh is at a certain level, for us though it wasn’t much at all and we didn’t even realize we had gone through it until we already had.
Portage
The portage is at Devil’s Jump and it is recommended for most canoers and required by shuttle companies if you are renting from them. It’s not too uncommon to get pinned up against a rock and even damage your canoe if you aren’t careful or don’t know what you’re doing.
It can get kind of clogged up here if the river is crowded, luckily we were the only ones portaging right when we got there but several people pulled up right behind us. You’ll basically have to pull your boat up on shore a little bit and completely empty it of all gear. Two people can carry it or if it’s light enough it may be easier for one person to carry it over their head.
Maybe I’m a wimp, but it wasn’t an easy trip to the other side. It’s only a few hundred feet but you have to walk up and down hills, through the woods, jump across water, walk on moss covered rocks, all on unsure footing. It would be easy to fall in many places so be careful. I kind of rolled my ankle a little bit at one point but didn’t hurt myself at all.
There are some massive rocks through here that you can climb out on and enjoy the views or watch any other river goers attempt the Devil’s Jump. We saw a couple of folks try it and one ended up upside down. I would recommend skipping it and portaging unless you know what you’re doing.
Once you’ve moved the canoes and gear to the other side of Devil’s Jump, load back up and push back off down the river to your last stop, Blue Heron.
The last couple of miles and Blue Heron
You can see from the map above that Blue Heron is a short float from the portage. No need really to lash everything back down, just put it back in the boat because you’ll be getting it all right back out again in a few minutes.
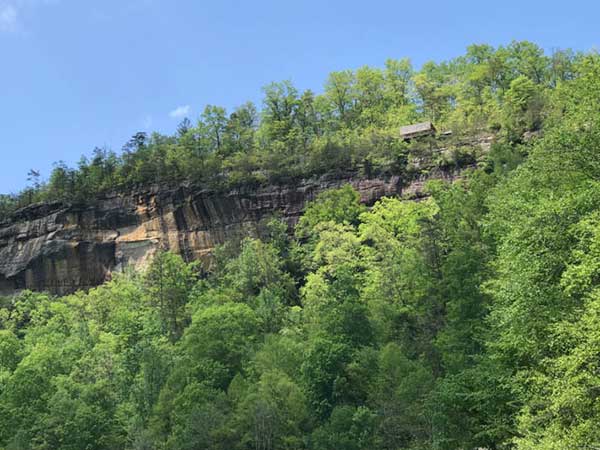
It’s during this last stretch I believe, and some spots before the portage as well, where you can see some really pretty bluffs and a lookout. Once you arrive at Blue Heron, do what you just did at the portage again. Unload your gear and carry the boat up to the parking lot this time, a much shorter trek straight up a slight incline. Load your vehicle and you’re done!
Some general tips and gear you shouldn’t forget
Here are some general tips about this overnight canoe trip and camping next to a river that you might find useful.
- The first thing that sticks out to me is the bugs. Oh man were there a lot of bugs. I think the same swarm of 1,000 flies followed me the whole trip. I would sprint really quick and lose them for a second but if I turned my head back I could literally see the swarm trying to catch up with me! That part wasn’t so fun. So my first tip is bring bug spray!
- Bring enough waterproof dry bags. Don’t even bother with a normal backpack of any type, make sure all of your clothes and belongings can fit into your dry bags. I bought this one from Earthpak on Amazon and it worked great, it even came with a free waterproof clear iPhone bag. I got the 40L bag and it fit all of my stuff easily, excluding tent and sleeping stuff, however I think I could have fit an ultralight 1 person tent in there.
- The sun can be strong on the river, even in April. It was cloudy for most of the trip so I chose to skip sunscreen like an idiot. I didn’t get burned to the point of peeling, but I was tender and red the next and I do not consider myself to have fair skin. If you have fair skin or burn easily, don’t forget to coat yourself in sunscreen regularly.
- Wear some good water shoes. An old pair of sneakers can work in a pinch, but I recommend a bit of a splurge here and buying some quality river shoes, made specifically for hiking in the water which is exactly what I did. I bought the All Out Blaze Sieve Water Shoes by Merrell. They really worked great and I’ll use them again in the near future, I only wish I’d bought them last summer when I hiked the narrows in Zion.
- I won’t go into detail about every piece of gear you need for camping, but do double check your bag and make sure you have all of the primitive camping essentials. Getting out there and realizing you forgot toilet paper would not be good. Pack as light as you can though, you’re going to have to carry this gear around for 2 days.