Before you even lace them up, you need to know how to break in your hiking boots.
As hikers, we rely on our feet. Our feet are the hardest working part of our body, especially for hikers. Hiking boots keep your feet comfortable, warm, dry, and keep you from slipping off the edge of a cliff. They also protect you from thorns, sharp rocks, bugs, and poison ivy.
Boots work hard to protect your feet from pointy immediate hazards, but they also provide support and stability that will keep you hiking for years to come. But, if you don’t break your boots in properly, you can be at risk for serious blisters, muscle aches, and tendon issues.
Think about breaking in your boots as a way to say “thank you” to your feet for all the amazing trails and places they’ve carried you. Breaking in hiking boots begins much earlier than many hikers are aware. If you’ve ever gotten blisters 45 minutes into your adventure, you know how important breaking in your boots can be.
How to Properly Break in Your New Hiking Boots
What does “breaking in boots” even mean?
Even the best boots are stiff when you buy them. In the process of machining leather to make it suitable for boots, it goes through a machining process and a chemical treatment process that makes it extra stiff. This stiffness makes wonderful boots, but it also makes the boots a pain to walk in when they first come out of the box. Leather and rubber soles take time to soften up and adjust to your step.
If you try to hike in stiff boots you will definitely end up with blisters, but you may also earn some sore feet and ankles, or a sore back.
The reality is: not all feet are created equal. This means even the highest quality hiking boots need to get to know the contours of your feet and the quirks of your stride. In other words, as your feet adjust to your boots, your boots adjust to your feet.
Breaking your boots in means softening the leather enough to be able to put them on comfortably and wear them without discomfort. During this process, the leather will stretch gently over a period of time to create a little extra give while conforming to your feet.
You’ve probably heard old hiker or forester tales of soaking your boots, wearing damp socks, and even baking your boots in the oven. These methods are unwise if not plain dangerous. Wearing wet boots can damage your most precious hiking tool: your feet. Plus these types of tricks can void any warranty your boots may have!
Blisters are a nightmare for hikers. Hiking boots that fit properly will keep you on the trail and out of pain.
Follow this guide to guarantee your boots will last and your feet will comfortably carry you to happiness and adventure.
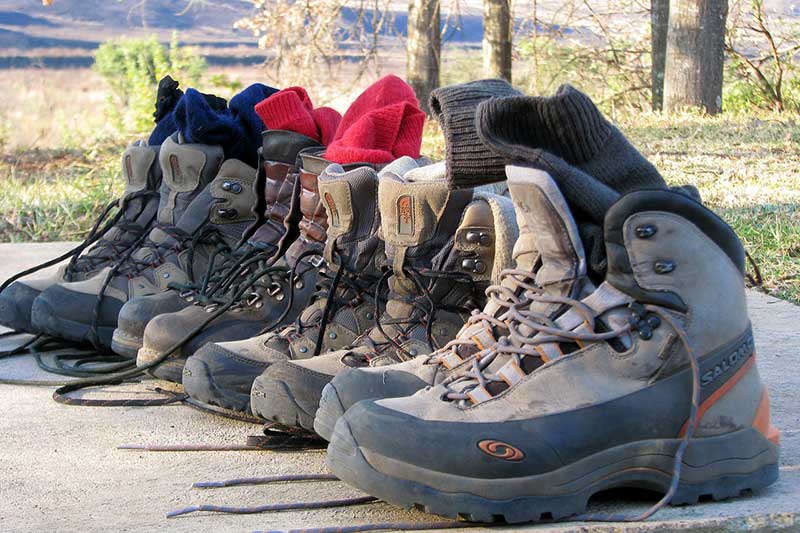
1. Buy the right boots
Breaking boots in is never a quick process.
Breaking in your boots begins before you even buy a pair. You need to make sure the boots you purchase are the right boots for your foot and terrain. You don’t want to end up like Cinderella’s stepsister and have to cut off a toe to get your boots to fit your feet.
Think about the materials of the boots you’re buying. Leather tends to be a favorite among hikers for its good looks, but Gore-Tex requires less time to properly break in.
Buy boots far enough in advance of your hike that if they aren’t right for you, you can return them and still have time to break in another pair.
Don’t rush. If you don’t break in your boots correctly, you can literally break your boots. Rushing the break-in method can cause holes or tears in your leather.
I suggest purchasing boots at least 3-4 weeks before you will actually hike in them. Keep in mind that the heavier the boots are, the longer it’ll take to break them in.
Recommended boots for hiking:
- Timberland Men’s White Ledge Mid Ankle Boot – I own a pair of these boots and love them, they’ve lasted me for over a decade!
- Timberland Women’s White Ledge Mid Ankle Boot – Same style boot for women.
2. Condition your boots
The first step after you bring your boots home is to condition the leather. You may read online that you can spray them with an alcohol and water solution. But beware! Alcohol can damage leather if not applied correctly. If you damage the leather, not only will you ruin your new boots, but you could void your warranty. If you decide to risk it, make sure your solution is about 70% water to 30% alcohol.
A better option is to use a leather conditioner. Leather condition is necessary in my book. I recommend using mink oil. In fact, I love mink oil- it’s a time-tested product that helps waterproof your boots while softening the leather. It is true that mink oil can discolor your leather, so test it out on a small, less-visible area of the boot.
When applying mink oil or another leather conditioner, make sure you remove the laces to get an even coating. This will help boots be better waterproofed and ensure the coloring is even. Avoid leather conditioners with petroleum jelly as those can weaken the leather and they tend to be greasier. Also, petroleum jelly will collect dirt and dust making your boots look older than Moses’s sandals after wandering in the desert.
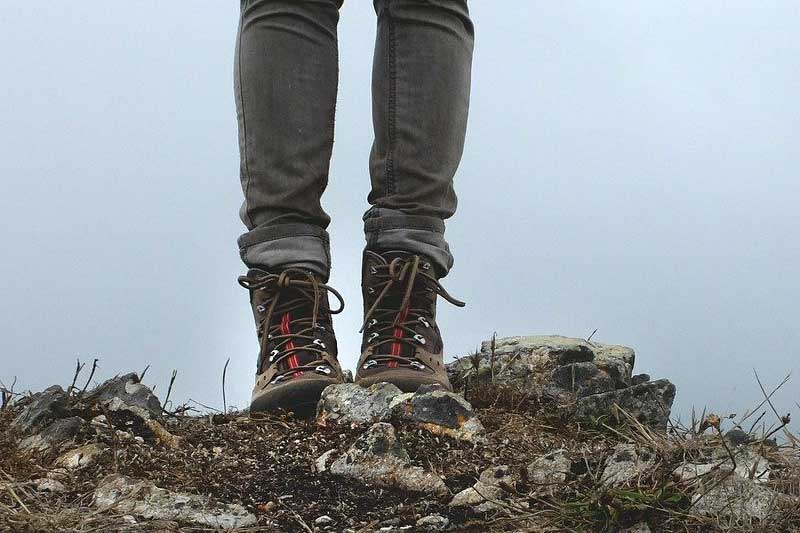
3. Now wear them
In the morning, our feet are smaller and arches are higher. As the day unfolds, our feet expand due to the pressure of standing and walking and the heat of the day. Our arches are also lower during this time, which makes it the ideal time to break in boots. When you hike, your feet will naturally swell a little and begin to sweat. You want to replicate these conditions as closely as possible when training your boots to your feet.
In other words, don’t be embarrassed to stomp around in a bathrobe and hiking boots. You’ll want to wear your boots inside for about ten minutes at first, while gradually increasing the length of time. Even though you’re not hiking in the boots, you’ll still want to wear sock liners and thick wool socks. This will help the boots to fully adjust to your feet in hiking conditions before you hit the trail. You may even want to get your moleskin at this point when your boots are the tightest.
When you lace up for the first time, make sure your new boots are properly adjusted with the tongue centered and the gussets straight. You’ll want to keep the laces tight to avoid additional rubbing. If you have stairs, try walking up and down them a few times— this will give you a good idea of how your boots will feel on an incline or decline.
Remember that you can gently and slowly flex the sole of the boot to help it begin to give a little. You can also remove your boots and bend, wring, twist, and skew the sole.
When you’re breaking boots in at home, remember to keep them clean in case you need to return them.
Product recommendations
Best Leather Conditioners
Obenauf’s Heavy Duty LP Leather Conditioner Natural Oil Beeswax Formula (8oz)
Bickmore Premium Leather Care Kit – Leather Lotion Cleaner Conditioner Protector
Best Sock Liners
Fox River Wick Dry CoolMax Liner Socks
Best Wool Hiking Socks
Enerwear 4 Pack Women’s Merino Wool Outdoor Hiking Trail Crew Sock
Buttons & Pleats Premium Merino Wool Hiking Socks Outdoor Trail Crew Socks 3 Pairs
DANISH ENDURANCE Merino Wool Hiking Socks Crew for Trekking, Performance & Outdoor, Men & Women
Best Boot Stretcher Spray
FootFitter Shoe and Boot Stretch Spray
Best Shoe Stretchers
FootFitter Heavy Duty Stretcher for Hiking Boots
XYH Shoe/boot Stretcher – Women and Men
Other Methods to For a Tip-Top Fit
Although I suggest the most tried and true process for properly broken in boots is to wear them at increasing lengths of time, there are some other ways to speed up the process or adjust the leather in spots that still seem tight.
Some hikers expand their leather by freezing water in their boots overnight. Simply, fill gallon zipper bags with water, put them in the boots and store them in the freezer while you sleep. If you choose to try this, watch for leaks in the bags. The last thing you want is to damage your brand-new boots! This method does gently expand the leather, but it does not give you that custom fit like breaking them in over time will.
If you feel your boots need a little more wiggle room, you can also use a shoe stretcher. Shoe stretchers are great for hikers who need to stretch their boots in a hurry. You use them by gradually increasing the width of the wooden foot every night. This method is great for skipping the step of wearing the boots inside but won’t result in a fit as tailored as wearing the boots.
It’s important to note that proper fitting boots may feel stiff, but if they’re rubbing excessively or pinching, you probably need to return them for a different style boot.
1. Hit the road
After you’ve worn your boot inside for about a week, take them for a test drive out in the fresh air.
Start small by going out to the mailbox or across the yard to water the plants. Once you’re confident that your boots are softening up, try going for longer walks. Think about wearing them as you walk your dog around the block or to a nearby park.
After a few days of short outdoor walks, begin to bring your hiking backpack. Put some treats in it for the dog and enough weight to accurately mimic what you’d bring on a real hike.
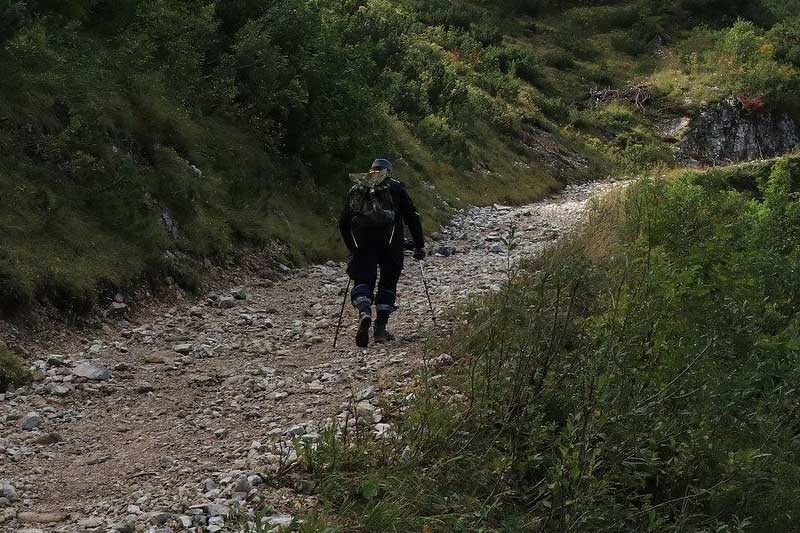
2. Hit the trail
Don’t start with a marathon. The last thing you want to do is get stuck an hour from your car with a blister the size of a porcupine. Start off with a half mile to a mile hike then gradually work your way up from there. You may also want to start with a flat trail.
3. If Your Boots Still Aren’t 100% Comfortable…
Remember to recondition the leather regularly during this process. I suggest every other day during the Steps 2 & 3.
If your boots continue to give you a little discomfort, there are ways to help. Swap your insoles for custom insoles. Try wrapping moleskin around your heel or toes before starting out. You can add a little extra tape to the outside of the moleskin to keep it secure.
Final Thoughts
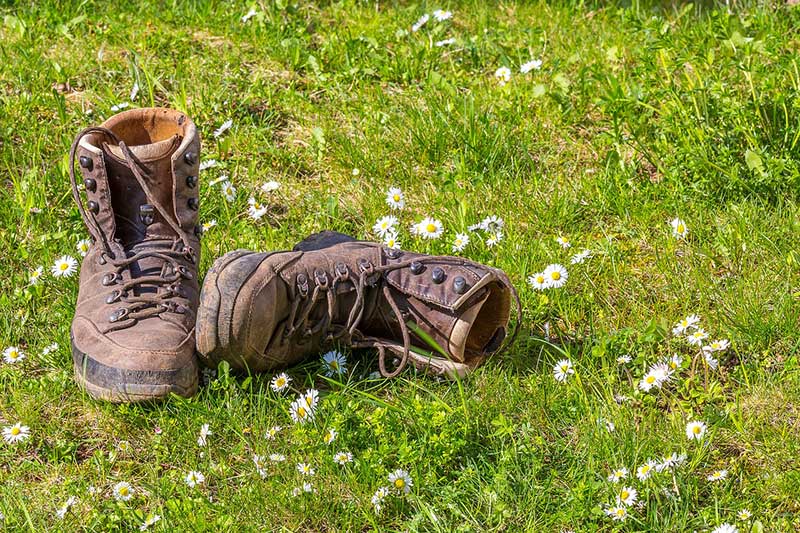
Spend time enjoying nature, not bandaging or doctoring blistered feet. Blisters develop from repetitive friction and moisture. Make sure you do all you can to prevent them. Never pop a blister while hiking, and always bring a few first aid blister protection items on your hikes like moleskin or Band-Aids (these are my favorite). If your feet begin to ache on a hike, stop walking. You should take off your boots to rest and elevate your feet. Having your boots off will also cool your feet to reduce inflammation.
Remember to cut your toenails and recondition your boots regularly for greater blister prevention. You also want to shake your boots clean of any debris like sand, leaves, or pebbles. And carry an extra pair of socks or liners.
Most importantly, always pay attention to the way your feet feel and take the time to properly break your boots in.